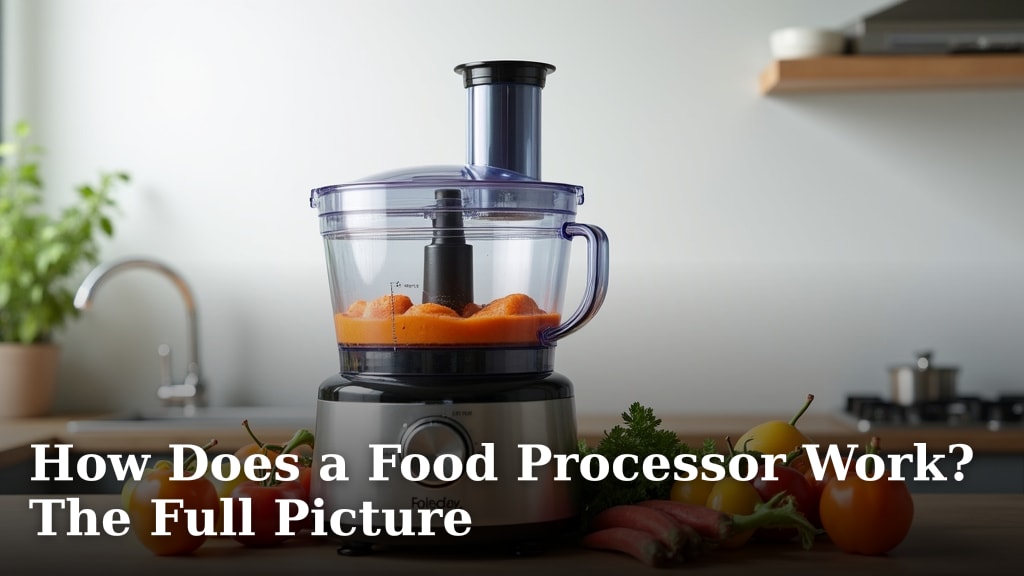
How Does a Food Processor Work? The Full Picture
The Anatomy of a Food Processor: A Look Inside
At its heart, a food processor is a powerful **motorized bowl** that spins blades or discs to chop, blend, or mix ingredients. Think of it like a very fast, dedicated helper for your kitchen counter. You place food in the bowl, press a button, and the machine does the hard work of cutting or mixing in seconds.
The Key Components That Make It Run
Every food processor, whether simple or fancy, is made of a few essential parts. Understanding them helps you see how the machine transforms a whole onion into perfect dice.
- Bowl and Lid: This is your work area. The lid locks into place, a crucial **safety feature** that often prevents the motor from running if it’s not secure.
- Base with Motor: The heavy bottom houses the electric motor. A **more powerful motor** (measured in watts or horsepower) can handle tougher tasks like kneading bread dough.
- Blade and Disc System: This is where the magic happens. Different attachments create different results.
The Heart of the Machine: The Motor and Drive Shaft
The motor is the engine of your food processor. When you press a button, it spins a **vertical drive shaft** at high speed. This shaft is connected to the blade or disc you’ve placed inside the bowl. It’s a simple, direct transfer of power from the base to the cutting tool. Many experts note that motor quality directly impacts the machine’s durability and ability to handle dense foods (Consumer Reports).
Simple vs. Induction Motors
You’ll often see two motor types. A **simple motor** is common in entry-level models and is fine for typical tasks. An **induction motor** is found in higher-end machines. It’s heavier, quieter, and generates less heat, allowing for longer, more demanding jobs like continuous shredding.
How the Blades and Discs Do the Work
The spinning attachment is what actually contacts your food. Its design dictates the outcome. A food processor doesn’t “cook” or “heat” your ingredients; it purely **physically alters their shape** through motion.
The S-Blade: Your All-Purpose Chopper
This is the blade you’ll use most. It’s the standard, slightly curved blade that sits at the bottom of the bowl. When it spins, it creates a vortex that pulls ingredients down and chops them. For a rough chop, you use short pulses. For a smooth purée like hummus, you let it run continuously. You can make a whole batch of salsa in under 30 seconds with this one tool.
Pulse vs. Run: What’s the Difference?
The **pulse button** gives you precise control. It runs the motor only while you hold it down, perfect for checking progress and avoiding over-processing. The **run or on button** is for continuous work, like making a smooth soup or kneading dough. We found that overusing the run button on delicate foods like herbs can turn them into a bitter, dark paste.
Specialized Discs for Slicing and Shredding
These flat discs sit atop the drive shaft and have raised cutting edges. Food is fed through the lid’s chute and hits the spinning disc. This is how you get uniform results. A **slicing disc** creates perfect rounds of cucumber or potato. A **shredding disc** makes quick work of cheese for pizza or carrots for coleslaw.
The thickness of a slice is usually fixed on the disc itself, though some models have adjustable discs. Having multiple discs means you can change between a thin slice and a thick shred easily.
Putting It All Together: The Operation Sequence
Using a food processor follows a clear, logical sequence. Following these steps ensures **food safety** and the best results.
- Assembly: Place the bowl on the base and lock it. Insert the correct blade or disc. Secure the lid, making sure it clicks into the locked position.
- Loading: Add your ingredients. For slicing/shredding, use the feed tube and pusher. Don’t overload the bowl; work in batches if needed.
- Processing: Select your speed. Start with a few pulses, then switch to continuous running if needed.
- Disassembly: Turn the machine off and unplug it first. Then, unlock and remove the lid, blade, and bowl for cleaning.
A Quick Note on Liquid Capacity
Most food processor bowls have a **maximum liquid fill line**. Exceeding this can cause leaks or force liquid into the motor base. For making liquids like soups or sauces, follow your recipe’s guidance on batch size.
Food Processor vs. Blender: Clearing Up the Confusion
Many people mix these two up. While both have a motor and a container, their core designs are for different jobs. Choosing the right one saves you frustration and gets you better food.
| Feature | Food Processor | Blender |
|---|---|---|
| Primary Goal | Chopping, mixing, puréeing thick mixtures | Liquids, smoothies, thin soups |
| Bowl Shape | Wide and short | Tall and narrow |
| Blade Position | Bottom, with a large work area | Bottom, designed to create a vortex |
| Feed Tube | Yes, for slicing and shredding | No |
| Best For | Pesto, dough, salsa, nut butter, slicing veggies | Smoothies, frozen drinks, puréed soups |
In short: if it’s thick, chunky, or needs to be scraped down the sides, use a food processor. If it’s liquid and needs to be aerated or fully liquefied, use a blender.
Getting the Most From Your Machine
A food processor is a tool, and like any tool, technique matters. A few small tips can elevate your results from okay to perfect.
The Art of the Perfect Pulse
Pulsing isn’t just pressing the button randomly. A good rhythm is: **pulse, stop, check, repeat**. Look through the lid. You can see the size of the pieces change. This prevents the common mistake of turning onions into soup when you wanted a dice. Think of it like taking tiny, controlled bursts of action.
Working in Batches for Even Results
Overfilling the bowl is a recipe for uneven processing. The food on top might stay whole while the food near the blade turns to mush. For the best texture, process food in **small, manageable batches**. This gives everything space to move and contact the blade properly. It takes an extra minute but makes a huge difference.
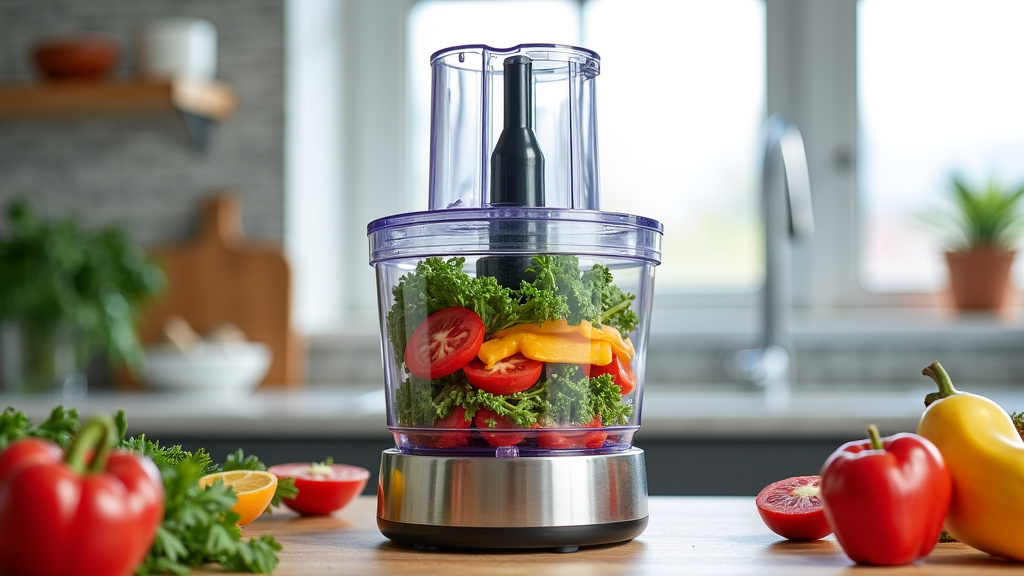
Maintenance and Safety: Keeping It Working Well
Caring for your food processor is straightforward. Always unplug it before disassembly. Most bowls, lids, and blades are **dishwasher safe**, but check your manual. Hand-washing the blade is often safer for your fingers. Dry all parts completely before storing to prevent any odors or rust.
A Simple Pre-Use Checklist
Before you start any recipe, run through this quick list. It ensures a smooth and safe process.
- Is the work surface dry and stable?
- Is the bowl locked onto the base?
- Is the correct blade/disc installed and seated properly?
- Is the lid fully locked, engaging the safety mechanism?
- Are your ingredients cut to a size that will fit in the bowl or feed tube?
- Is the cord plugged into a grounded outlet, away from water?
Common Food Processor Tasks, Explained
Let’s tie it all together with a few examples. Seeing how the components work for specific foods makes the whole concept click.
Making Smooth Hummus
Here, the S-blade and continuous running are key. The blade **purées** the chickpeas, tahini, and liquids into a smooth paste. The wide bowl allows the thick mixture to circulate and get processed evenly. You might need to stop and scrape down the sides once or twice.
Kneading Bread Dough
This is a job for the powerful motor and the S-blade. The blade doesn’t cut the dough; its motion **slaps and folds** it against the bowl, mimicking the action of your hands. Many recipes say to process for only 60 seconds to avoid overheating the dough and activating too much gluten too fast.
Creating a Coleslaw Mix
This showcases the slicing and shredding discs. A **shredding disc** quickly processes the cabbage and carrots into uniform strips. The consistency is something that’s very hard to achieve by hand with a knife in the same amount of time.
Why It’s a Foundational Kitchen Tool
A food processor doesn’t just save time; it opens up new possibilities in your cooking. Tasks that were once tedious, like making pastry dough or grating pounds of cheese, become simple. It gives you the ability to prepare fresh, whole-food ingredients at home, which is a cornerstone of healthier eating. The convenience it offers allows you to experiment with recipes you might have otherwise skipped.
Conclusion
You now have the full picture of how a food processor works. It’s a **motorized system** where a **secure bowl** and **spinning blade or disc** do all the physical work. Remember that **pulsing offers control** for chopping, while **continuous running** is for smooth purées. The key is matching the right attachment to your task and processing in batches for even results. With this knowledge, you can use your machine safely and effectively for everything from dough to coleslaw.
Your next step is simple. Review the **pre-use checklist** from this guide, then choose one new recipe to make this week. Whether it’s hummus or shredded cheese, practice the **pulse technique** to get the texture just right. Your food processor is a powerful helper, and now you know exactly how to put it to work.
Frequently Asked Questions
Can a food processor knead bread dough?
Yes, it can. The **S-blade** mimics hand-kneading by slapping and folding the dough against the bowl. Use short bursts of the **run button** for about 60 seconds to avoid overheating. This task works best in a model with a **powerful motor**.
Why does my food processor make loud noises?
Loud noises often mean something is wrong. First, ensure the bowl and lid are **fully locked** into place. An unbalanced load or a dull blade can also cause strain. If the sound is a high-pitched whine, the motor might be overworked; stop and let it cool down.
How do I prevent vegetables from turning to mush?
The secret is **short pulses** and frequent checks. Use the **pulse button** in quick bursts, stopping to see the size of the pieces. Avoid the continuous run button for firm vegetables. Working in **small batches** also gives you much better control over the final texture.
Can I process dry ingredients like flour?
You can, but with caution. A food processor can mix pastry dough or grind grains. However, **over-processing** can create too much heat or overwork gluten. Use short pulses and keep the mixture cold for best results, especially with butter-based doughs.
What’s the best way to clean the blade safely?
Always **unplug the machine first**. Hold the blade by its plastic hub to avoid the sharp edges. Hand-washing with a soapy brush is safest. While many parts are **dishwasher safe**, placing the blade carefully in the top rack prevents damage and keeps you safe.