
How to Cold Press Juice at Home: A Practical Guide
Yes, you can absolutely cold press juice at home. It’s a straightforward process that lets you enjoy fresh, nutrient-rich juices without any added sugar or preservatives. You just need the right equipment and a little guidance to get started with making your own healthy beverages.
Making cold-pressed juice at home is a rewarding way to boost your intake of vitamins and minerals. Unlike centrifugal juicers, cold-press juicers, also known as masticating juicers, work by Understanding the pros and cons of juicing can help you decide if it’s the right method for you.grinding and pressing your fruits and vegetables to extract maximum juice. This method helps preserve enzymes and nutrients better.
TL;DR:
- Cold pressing juice at home is possible and healthy.
- It uses a slow grinding and pressing method.
- This preserves more nutrients and enzymes.
- You’ll need a cold-press juicer.
- It’s a great way to get fresh, pure juice.
Let’s walk through exactly how to do it, from picking your produce to cleaning your machine. We’ll cover the essentials to make your home juicing journey smooth and successful.
Cold pressing juice at home might sound a bit daunting, but it’s actually a very achievable and rewarding process. You’re essentially becoming your own personal juice bar, crafting delicious and healthy beverages right in your kitchen. Let’s break down exactly how you can get started, making sure you have all the information you need to succeed.
Your Home Cold Press Juicing Workflow
Cold pressing juice at home is all about preparation, the juicing process itself, and then tidying up. It’s a simple flow that ensures you get the best results with your machine.
Choosing Your Produce Wisely
The quality of your juice starts with the ingredients. When you’re selecting fruits and vegetables, think about freshness and ripeness. This will directly impact the taste and nutrient content of your juice.
What to Look For
You want produce that is firm and free from bruises or soft spots. For leafy greens, look for vibrant colors and crisp leaves. Overripe fruit can make your juice too sweet and mushy. Underripe produce might lack flavor and juice yield. Researching which fruits and vegetables are in season can also lead to better taste and lower prices.
Washing and Prepping
This is a non-negotiable step. Always wash your produce thoroughly under cool running water. This helps remove any dirt, pesticides, or bacteria. Most items will need to be cut into pieces that fit your juicer’s chute. For some fruits and vegetables, like apples or carrots, you might need to remove seeds or pits depending on your juicer’s capabilities. Always check your juicer’s manual for specific prep instructions.
Understanding Your Cold-Press Juicer
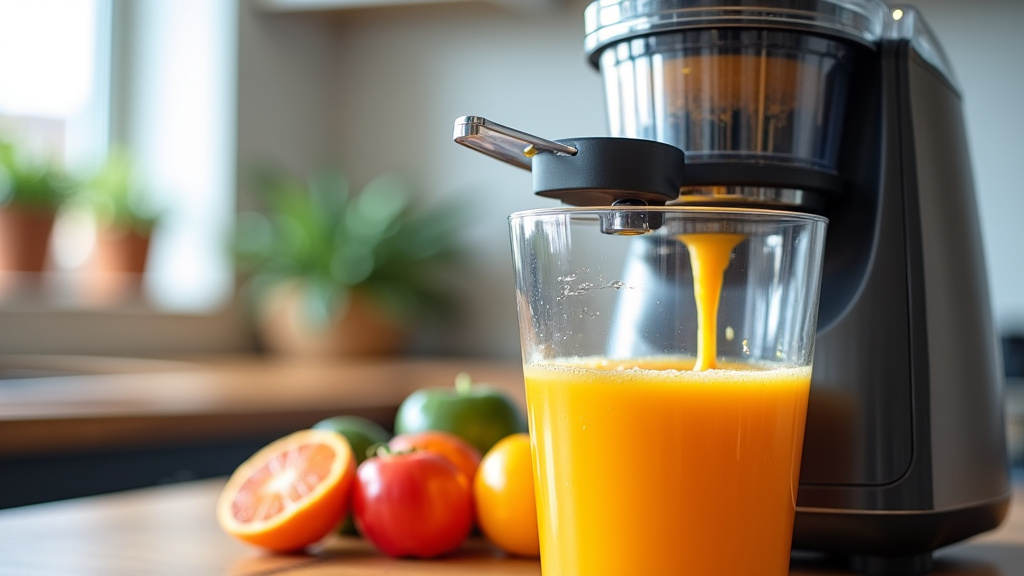
Cold-press juicers, also known as masticating juicers, work differently than their centrifugal cousins. They use a slow, grinding motion. This gentle process is key to preserving more of the good stuff in your produce. They chew up the ingredients and then press the juice out, leaving the pulp behind.
Types of Cold-Press Juicers
There are two main types: single-auger and twin-auger. Single-auger models are more common and generally more affordable. Twin-auger juicers have two intermeshing augers that spin together, which can result in a higher juice yield and can handle tougher ingredients. The operating principle is the same: slow speed, high pressure, maximum nutrient retention.
How They Work (The Science Bit!)
Instead of high-speed blades that create heat, cold-press juicers use a slow-moving auger (a screw-like mechanism) to crush and squeeze fruits and vegetables against a filter. This low-speed operation (usually 40-110 RPM) minimizes oxidation and heat buildup. Research indicates that this method helps retain more vitamins, minerals, and enzymes compared to high-speed juicers (National Institutes of Health).
The Juicing Process Step-by-Step
Now, let’s get to the fun part: actually making your juice! It’s a pretty straightforward process once you get the hang of it.
Feed Your Produce Through
Turn on your juicer. Start feeding your prepared fruits and vegetables into the chute. If you’re juicing a mix of hard and soft items, it’s often best to alternate them. For example, follow a piece of apple with some spinach. This helps push everything through efficiently. If you have a lot of leafy greens, you can bunch them up together. Don’t force anything; let the machine do the work.
Collecting Your Juice and Pulp
Your juicer will typically have separate containers for juice and pulp. The juice flows out one spout, and the pulp is expelled from another. Make sure these containers are positioned correctly before you start. The pulp is mostly fiber, which is great, but it won’t be in your juice.
Maximum Juice Yield Tips
To get the most juice possible, make sure your produce is fresh and firm. Juicing a mix of fruits and vegetables helps. Sometimes, adding a harder item like a carrot after softer items can help push any remaining juice through. Some juicers also come with a plunger to help guide ingredients; use it gently.
Post-Juicing: Cleaning Your Equipment
Cleaning your juicer right after use is probably the most important part of the whole process. If you let the pulp and juice dry on the parts, it becomes a much tougher job.
Immediate Rinse and Disassemble
As soon as you’re done juicing, unplug your machine. Disassemble the main parts that came into contact with the produce. Rinse all these parts under cool running water. This will remove the majority of the pulp and juice residue. Many juicers come with a cleaning brush, which is very helpful.
Deeper Cleaning Methods
For parts with more stubborn residue, you might need to use a soft brush and a little mild dish soap. Some juicer parts are also dishwasher safe; always check your manual. Make sure all parts are completely dry before reassembling or storing them to prevent mold or mildew.
Juice Storage Best Practices
Once you’ve made your delicious juice, you’ll want to keep it fresh. Cold-pressed juice has a shorter shelf life than store-bought juice because it doesn’t contain preservatives and has been minimally processed.
Airtight Containers are Key
Store your juice in airtight glass bottles or containers. Fill them as close to the top as possible to minimize air exposure. This is because oxygen can degrade the nutrients. Many people find mason jars or specific juice bottles work well. You can also get containers with special lids designed to reduce air contact.
Refrigeration and Shelf Life
Always keep your freshly pressed juice refrigerated. Ideally, consume it within 24 to 48 hours. Some sources suggest up to 72 hours for certain types of juice, but freshness is best. The longer it sits, the more nutrients can be lost, and the flavor might change. Some experts recommend freezing small portions if you make a large batch that you won’t drink immediately (Mayo Clinic).
Common Fruits and Veggies for Juicing
You can juice a wide variety of produce. Here’s a quick rundown of popular choices and what makes them great for your juicer.
Great Juicing Staples
Apples, carrots, celery, cucumbers, ginger, and kale are fantastic starting points. They yield good amounts of juice and offer a great balance of flavors and nutrients. Oranges and lemons (peeled) also add a bright, refreshing taste. Beetroots are packed with nutrients but have a strong flavor, so start with small amounts.
Leafy Greens Powerhouses
Spinach, romaine lettuce, parsley, and wheatgrass are nutrient-dense. They can have a strong flavor on their own, so mixing them with fruits like apples or pears is a common practice. Many guidelines suggest these greens are rich in vitamins A, C, and K (U.S. Department of Agriculture).
Things to Avoid (Usually!)
Some items are not ideal for cold-press juicing. Very fibrous items like bananas or avocados don’t juice well and can clog your machine. Starchy vegetables like potatoes are generally not recommended. Always check your juicer’s manual for a list of items it can and cannot handle.
Creating Your First Juice Recipes
Don’t be afraid to experiment! Your first few juices can be simple combinations. As you get more comfortable, you can create more complex blends.
Simple Combinations to Try
A great starter is 2 apples, 1 cucumber, and a small piece of ginger. Another easy mix is 3 carrots, 1 apple, and a handful of spinach. For a green boost, try 1 cucumber, 1 celery stalk, a handful of kale, and half a lemon. These combinations offer a good balance of sweetness, freshness, and a little kick from the ginger or lemon.
Balancing Flavors
Think about balancing sweet, tart, and earthy flavors. Fruits like apples, pears, and berries add sweetness. Citrus fruits (oranges, lemons, limes) add tartness and brightness. Root vegetables and leafy greens often provide the earthy notes. A little bit of ginger or mint can add a nice zing. Finding your perfect balance is part of the fun.
Juicer Maintenance Checklist
Keeping your juicer in top shape ensures it performs well and lasts longer. Here’s a quick rundown of what to do.
- Clean immediately after each use.
- Rinse all removable parts thoroughly.
- Use a soft brush for stubborn pulp.
- Ensure all parts are completely dry before storing.
- Check your manual for dishwasher safety.
- Store juicer parts properly to avoid damage.
Conclusion
You’ve learned that cold pressing juice at home is achievable and a fantastic way to enjoy pure, nutrient-packed beverages. By selecting fresh produce, understanding your juicer’s simple mechanics, and maintaining your equipment, you can consistently create delicious juices. Remember that immediate cleanup is key to keeping your machine in good condition. Now you’re ready to start experimenting with your own fruit and vegetable combinations. Your journey to homemade, healthy juice begins with your first preparation.
Frequently Asked Questions
How much juice can I expect from my produce?
The amount of juice you get depends on the type and freshness of your produce. Water-rich items like cucumbers and celery yield more juice than drier ingredients. Firm, fresh produce generally gives a better juice yield. Don’t be discouraged if some items seem to produce less juice than you expected.
Can I juice fibrous fruits like bananas in a cold-press juicer?
Generally, it’s best to avoid juicing very fibrous fruits like bananas, avocados, or berries in most cold-press juicers. These can often clog the machine or produce a very thick, smoothie-like consistency instead of juice. Always check your juicer’s manual for specific recommendations.
Is cold-pressed juice healthier than store-bought juice?
Yes, homemade cold-pressed juice is often considered healthier. It lacks added sugars and preservatives found in many store-bought options. The cold-press method also helps retain more vitamins and enzymes due to its low-speed operation. You have complete control over the ingredients.
How long does cold-pressed juice stay fresh after making it?
Homemade cold-pressed juice is best consumed within 24 to 48 hours for optimal freshness and nutrient content. Store it in airtight containers in the refrigerator. Oxygen and light can degrade nutrients, so minimizing exposure is important for longevity.
What are the best types of vegetables for a beginner juicer?
For beginners, start with easier-to-juice vegetables like carrots, cucumbers, and celery. These provide good juice yields and have mild flavors. Leafy greens like spinach can also be added in moderation. Combining them with a sweet fruit like an apple makes for a palatable and refreshing starter juice.